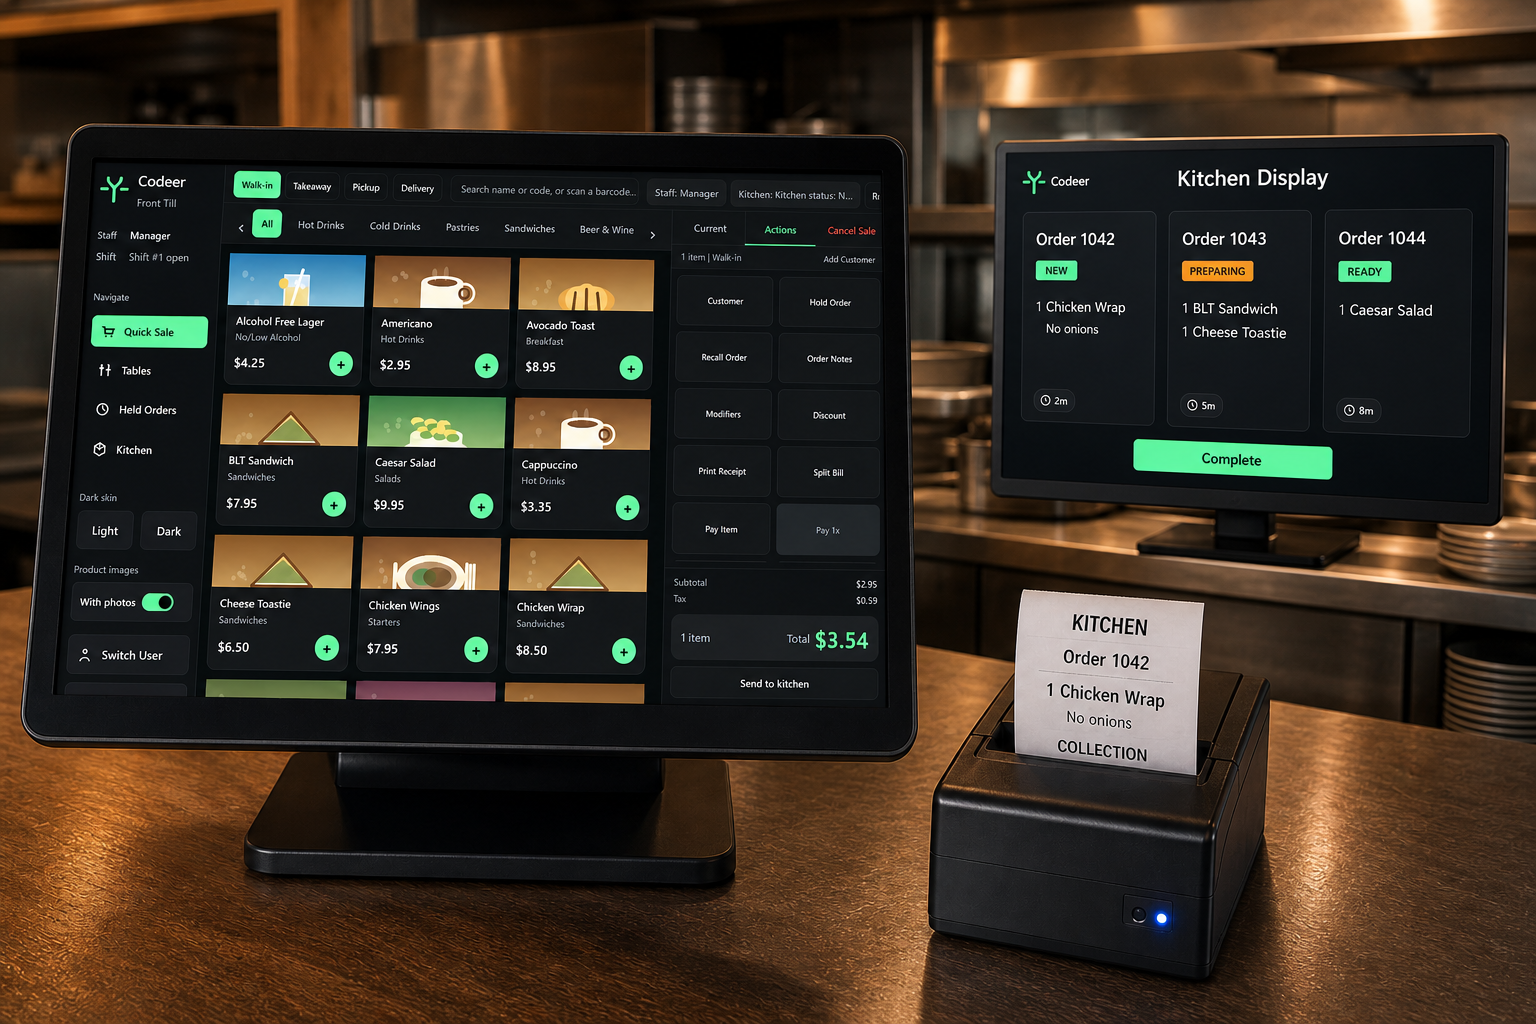
A reliable EPOS launch begins before the terminal reaches the counter. Product data, VAT treatment, printers, payment devices and staff permissions should be agreed and tested in a realistic environment.
1. Document the selling workflow
Write down how a normal transaction moves from order to payment and fulfilment. Include exceptions: refunds, discounts, split payments, open tabs, takeaway orders and manager corrections.
Identify which steps happen at the till, kitchen, collection point or back office. This determines the hardware and printer routing you need.
2. Prepare product data
Create a clean list containing:
- Product name
- Category
- Selling price
- VAT rate or tax category
- Barcode or product code where relevant
- Variants, sizes and modifiers
- Printer or preparation destination
- Availability and stock settings
Remove duplicates and agree naming conventions before importing. “Coke,” “Coca Cola” and “Coke 330ml” may represent one product or three; the system cannot make that decision for you.
3. Confirm VAT treatment
Assign VAT based on the products and circumstances of your business. Hospitality businesses should pay particular attention to eat-in versus takeaway treatment and products that may carry different rates.
The EPOS supplier can configure the system, but your accountant or tax adviser should confirm your VAT decisions. Keep a record of who approved each category.
4. Install and label the hardware
Position tills so staff can work safely without stretching across customers or trailing cables. Connect and test:
- Till terminal and power supply
- Receipt and kitchen printers
- Cash drawer
- Barcode scanner or customer display
- Network connection
- Card terminal
- Backup power or surge protection
Label cables at both ends. Record device models and serial numbers. Photograph the working connections before hiding cables.
5. Configure users and permissions
Give each user an individual account or identifier. Restrict refunds, voids, discounts, price changes and no-sale drawer openings to the appropriate roles.
Avoid one shared manager PIN. It removes accountability precisely where the audit trail matters most.
6. Test complete scenarios
Do not test only a simple cash sale. Run:
- Cash sale with change
- Card sale
- Mixed or split payment
- Refund and void
- Discount requiring approval
- Receipt and kitchen reprint
- Network interruption
- Printer or terminal restart
- End-of-day close
- Backup and restore
Compare till totals with cash and card records after the test.
7. Train staff by role
Counter staff need fast product entry, payment and correction procedures. Supervisors need approvals, shift control and close-out. Owners or administrators need products, reports, backups and user management.
Use a short written launch sheet for the tasks staff forget under pressure: support contact, printer checks, restart order and the procedure during an internet outage.
8. Plan go-live
Launch during a quieter period if possible. Keep the old method available long enough to recover from an unexpected configuration issue. Make one person responsible for approving changes so several well-intentioned edits do not conflict.
At the end of day one, review:
- Missing or incorrectly priced products
- VAT and payment totals
- Printer routing
- Staff permissions
- Slow or confusing screen layouts
- Any transaction that required a workaround
Correct issues deliberately, record what changed and retest.
Use the hardware checklist before installation and adopt a repeatable end-of-day reconciliation from the first trading day.